
I had the opportunity to take Marty Miller's Craftsy Course, "Mastering Foundation Crochet Stitches," and I'd like to share my experience with you. The class has seven lessons (Extended vs. Foundation; Basic Foundation Stitches; Using Foundation Stitches; Eyelets; Foundation Stitches in Pattern; Foundations in Filet, Mesh, and More; Tunisian, Colorwork & Beyond). I learned a lot and will use the new techniques in my future projects. Marty is an experienced, organized instructor who explains things very clearly. For anyone unfamiliar with the term, foundation stitches are what you do to start your crochet work, typically on the first row. Most of us make a long chain and then work stitches back into the chain. Sometimes we go through the top chain loop, sometimes the back bump, sometimes both, but we still use the chain in some way.
There are other--better--ways to start a project. What are the advantages of using foundation stitches instead of a long chain? For one, you don't have to worry that you mis-counted your chain and will have too few when you get to the end of Row 1. (No big deal if we're talking 10 or 20 stitches, but some patterns have several hundred chains and it is easy to mess up). When doing foundation stitches, do as many as you need. You still have to count them, but just add more until you have the right amount. Another advantage is the stretchiness of the fabric. My foundation chain is always tighter than the rest of my stitches. I've tried going up a hook size for the chain, but usually I forget to switch back to the smaller hook. If the foundation chain is too tight, the piece gets wider as the rows go up. Not good. A third plus is that the bottom of the piece looks exactly the same as the top, with all the V's lined up. You can also use foundation stitches for handles, like on a basket or bag, and for buttonholes, and to add stitches at the end of a row. It is also Marty's preferred technique when starting a project with novelty yarn. You can feel where to place the stitches, and in a chain you'd never figure out where they go.
The way to make a foundation stitch is basically to create a chain as part of the stitch you're working on, and use that as the entry point for the next stitch. Rather than start with that, Marty takes us through extended stitches first. An extended stitch has an extra chain inserted in it to make it taller. For example, to make a regular double crochet the instructions are yo, insert hook where indicated, yo, pull up lp, [yo, pull through 2 lps] twice. For an extended double crochet, it's yo, insert hook where indicated, yo, pull up lp, ch 1, [yo, pull through 2 lps] twice. By practicing with extended stitches we begin to see where that extra chain is. That's the chain we'll use when we move on to foundation stitches.
I was familiar with extended stitches but haven't used them much. Marty presents some good reasons to do so. One, if your stitch gauge is accurate but your row gauge is too short, you can fix that by using extended stitches. A more compelling reason is because the work goes faster! Look at the swatches below. (They are unblocked so you can tell nothing is fudged.) The one on the left uses double crochet stitches; the one on the right uses extended double crochets. The same number of rows, but look how much taller the second swatch is. A time-saver for sure!

Next we moved on to foundation stitches. Here again, I was familiar with them but hadn't used them much. I think I was only going through one loop of the stitch, which made my stitches messy. Watching Marty I could see that I should go through both loops. Marty's advice to look for the chains on the extended stitches was right on, as it was much easier to find where to put things on the actual foundation swatch.
(By the way, I highly recommend a pointy hook when doing foundation stitches. The blunt top of a typical metal hook slides off the stitch too easily.)
I hadn't thought of eyelets as a foundation, but my perspective on that has changed. I like the look that Marty came up with using those.
But let's skip to the part of the class that made me jump up and down: foundation stitches for filet crochet! That's a mesh pattern with a lot of openwork. I had always heard that foundation stitches could only be used when there was supposed to be a stitch in every chain. In other words, if any foundation chains were skipped in a regular pattern, foundation stitches wouldn't work. Au contraire, Pierre! After much puzzling over it, Marty (a former math teacher) figured out a way to make this work. It's worth the price of admission just for that. Here's my filet mesh swatches using the method she developed. One swatch skips one chain, the other skips two:

This is really great! And it can be used with other patterns that typically skip chains, like V-stitches.
The lesson on Tunisian crochet and colorwork was helpful as well, but not as new to me as some of the other techniques. I also watched the granny rectangle segment in an earlier lesson but found the pattern too open for a bag...and I'm too lazy to put a lining in. I might use that technique for a different item.
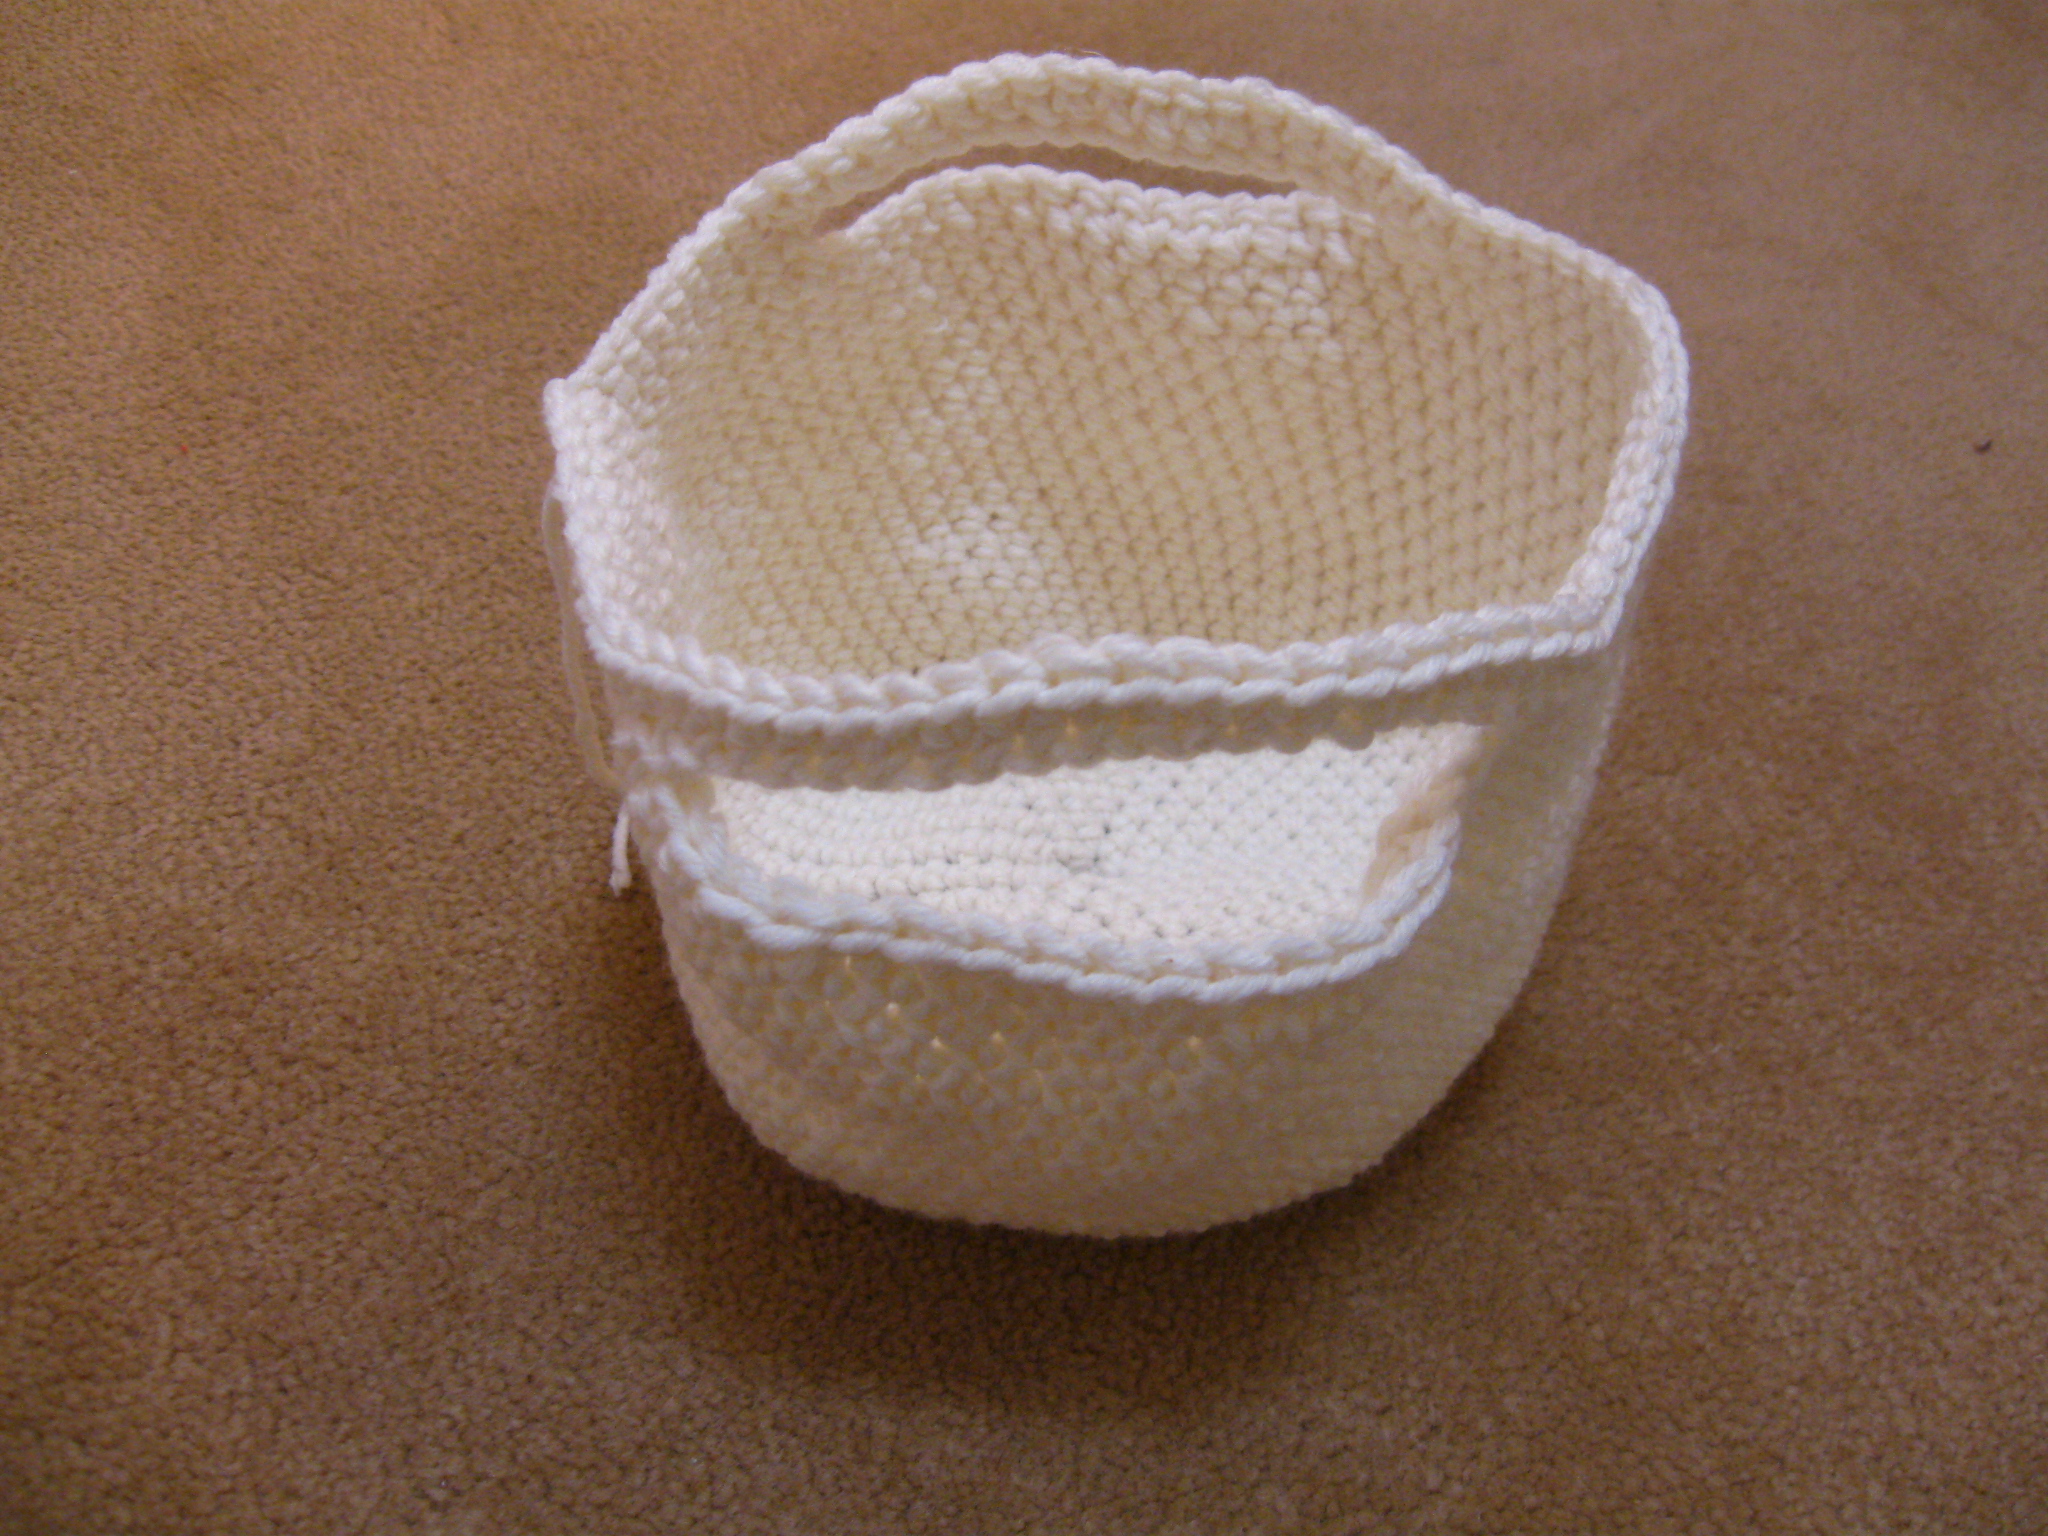
I made a little basket with handles using the pattern that came with the class. The handles are created with foundation single crochet. (I'll weave the ends in and block it tomorrow.)
I give the class a rating of excellent. For any of you who don't know Marty, she has plenty of crochet street cred. She's a former president of the Crochet Guild of America, and she teaches classes all over the country, including at The National NeedleArts Association shows and Chain Link conferences. An author and designer, Marty also has a Ph.D. One of her blogs is here and another is here. She was a big inspiration to me when I rediscovered crocheting about ten years ago. I took one of her classes in Valley Forge--sure wish they would have conventions there again!--and was encouraged by that experience.
Marty's preparation is unmatched. She had her Craftsy lessons all laid out, with her swatches labelled and her yarn and hook at the ready. Having been on HGTV, I know how much time goes into thinking about and making all of those step-outs. Bravo, Marty! The pace of the class gives you enough time to follow along. I was actually able to watch at 1.5 speed for some of the lessons. She not only explains what to do, but why. That understanding of the structure of stitches is very helpful. The class taught me more than I expected, and helped me understand some techniques that had eluded me before. The handouts were thorough. I didn't ask any online questions during class but other people did, and Marty answered them promptly and thoroughly.
As for the Craftsy platform, certain lessons seemed to get stuck and wouldn't play through smoothly, while others worked fine. (I had the same problem with another Craftsy class. Yes, all of my other windows and browsers were closed, and no, my computer memory or buffer zone is not an issue--my in-house tech support, a.k.a. husband, has seen to that.) Changing the play speed didn't help. I tried to be patient (insert maniacal laughter from anyone who knows me well). I like the freedom to watch the lessons when it's convenient for me, and to go back to segments at will.
Now I have to decide how to incorporate foundation stitches into my own projects and designs. For the projects it's a no-brainer: of course I will use foundation stitches and the other techniques Marty taught. It's a little dicier in my published patterns. If I specify foundation stitches, I have to include instructions on how to do them, and probably photos, too. Ideally everyone will take Marty's course and I wouldn't have to explain anything, but realistically I know people will complain if I don't give step-by-step instructions. On the other hand, I don't want to hold back specifying a technique that I think will improve the look of their finished item. I always try to make my patterns as helpful as possible. Designers, what do you do?
What are you waiting for? Go take this class! The link is www.craftsy.com/ext/MartyMiller_4809_F